The following is the PowerShell we use to install Microsoft Exchange Server 2019 CU11 and up into Windows Server 2019 after installing the needed prerequisites where are as of this writing:
- .NET 4.8
- Visual C++ 2013
- URLReWrite 2.1
- Unified Communications
Note the driver letters would need to be customized as per your setup.
Also, make sure to change the Database Name as appropriate.
# Fresh Install Run FIRST
.\Setup.exe /IAcceptExchangeServerLicenseTerms_DiagnosticDataON /PrepareSchema
.\Setup.exe /IAcceptExchangeServerLicenseTerms_DiagnosticDataON /PrepareAD /OrganizationName:"First Organization"

# Migration and Post Above Install
.\Setup.exe /m:install /roles:m /IAcceptExchangeServerLicenseTerms_DiagnosticDataON /InstallWindowsComponents `
    /TargetDir:"D:\Program Files\Microsoft\Exchange Server\V15"  `
    /LogFolderPath:"E:\Program Files\Microsoft\Exchange Server\V15\LOGS" `
    /MdbName:"Mailbox Database 21121984" `
    /DbFilePath: "F:\Program Files\Microsoft\Exchange Server\V15\Mailboxes\Mailbox Database 21121984.edb"

# Launch the Exchange Management Shell
LaunchEMS
Once done we need to reboot.
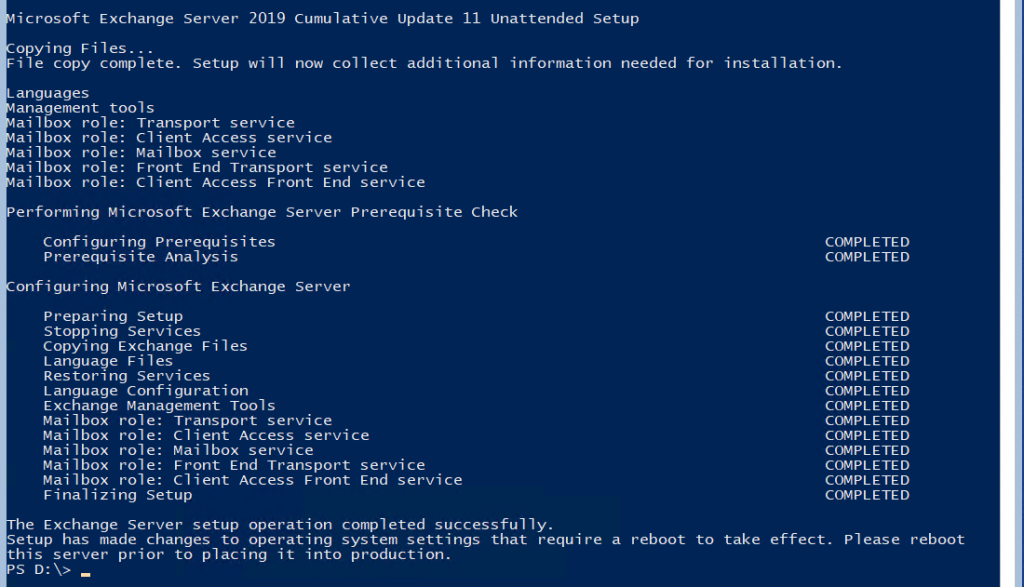
Added: 2022-03-28